Введение
After 10 years of use, mine is filled with dust in and our of the lens. Time to take it apart and clean it!
Инструменты
-
-
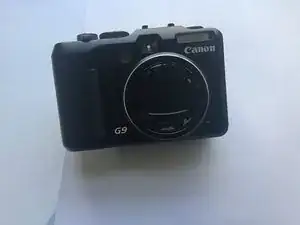
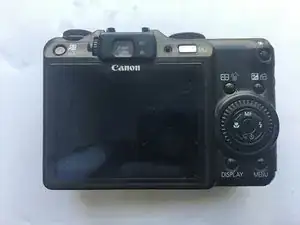
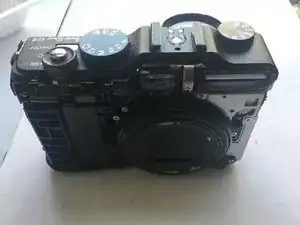
The Canon PowerShot G9 made its debut around 2007. With 12.1 mega pixels and 3200 ISO, it's easily one of the more economical choice for amateur and hobbyists.
-
I mean, after 10 years it's still pretty good. The 12.1 mega pixel is more than needed, coupled with a 6x optical zoom to take sharp photos of everyday objects.
-
It got a few scuffs and maybe some dings and some paint scraped off (or it fell off on itself) but it's still very capable.
-
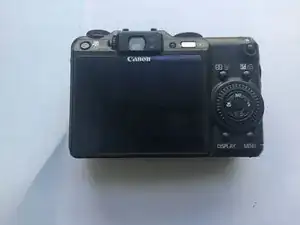
And yep, I did took out that 10 year old SD card. A miracle that it still works after a trip to the washing machine.
-
-
-
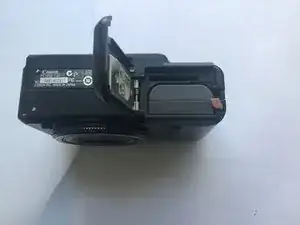
For starters, we'll pop out that battery.
-
And the SD card, if you had not done that already.
-
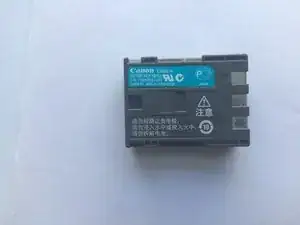
The battery tolls in a good 720mAh @ 7.4 V with a capacity of 5.3Wh.
-
And ... there is a battery-eliminator for the G9 if you happen to take lots of photos indoors. Proof? A trap-door like mechanism on the side of the battery compartment -- for the wires to go in and out.
-
-
-
We'll start
attackingremoving the screws on the outside of the machine. -
Which tolls in at ... 6?
-
I'm not sure if there are screws around the mounting point (for the camera tri-pods). I don't have it on my unit ...
-
I know there will be a LOT of screws, so prepare some
food container... containers.
-
-
-
The screws free up the rear ...
-
Case? Panel? Cover?
-
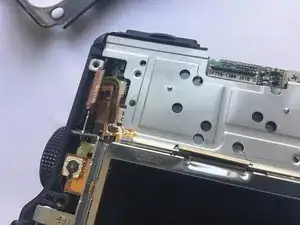
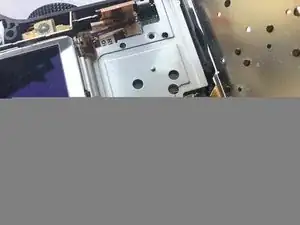
Which reveals a giant screen and ... some really delicate flex cables.
-
Let's start by removing the screen ....
-
Which have its flex cable trapped under the controls.
-
So let's start removing the buttons for now ...
-
-
-
And ....
-
BOOBY TRAP!
-
Flick the board on its long sides out. Some of it may be snagged under the top ribbon cable, so do it carefully.
-
-
-
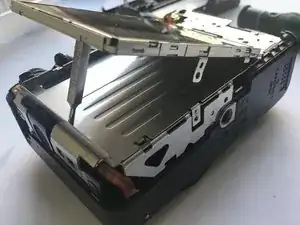
So this part would be empty.
-
There will be a screw on the bottom holding down the display, so you will unscrew that ...
-
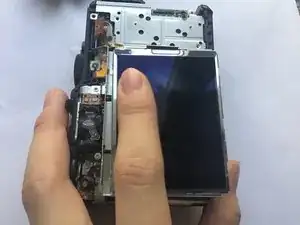
And then you would push the screen toward the bottom of the camera with your fingers.
-
And then the screen will ....
-
???
-
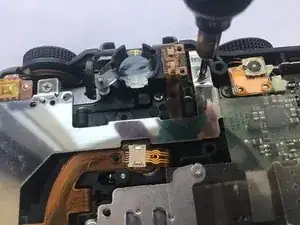
The flex cable had still a long way to go before being "free". Apparently we would need to remove the steel brackets ...
-
-
-
Or you can try to lift the screen up ...?
-
Nothing's there. Brackets are the go-to.
-
You'll need to remove this screw ...
-
Which frees up this interesting button + roller combo.
-
-
-
You will need to remove the screw below the buttons board too...
-
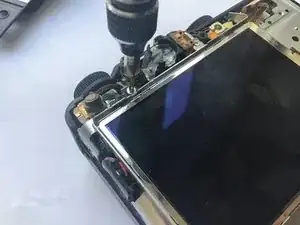
And THAT will give clear the entire screen (and buttons) assembly.
-
Flick the entire assembly upward and detach the other ribbon cable.
-
Display backlight? I can't figure out another use for that two-lane.
-
-
-
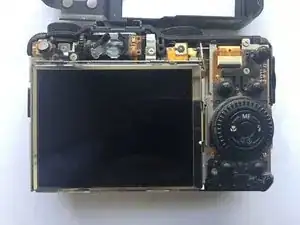
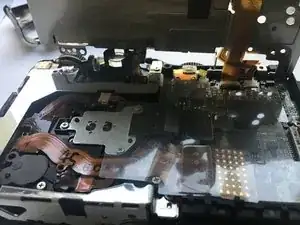
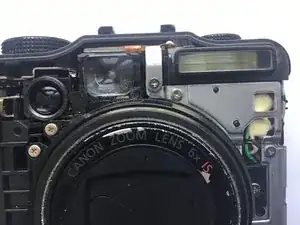
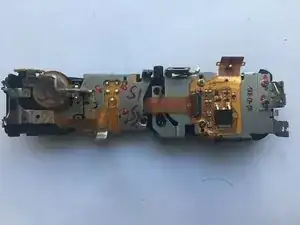
So this is how the camera looks like ...
-
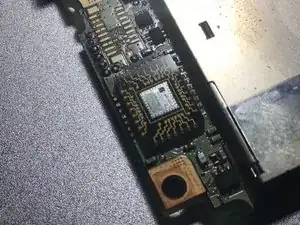
I'll DEFINITELY leave that for later. Look at that flex cable. It had a scary amount of connection AND test point.
-
So what are we here to do? We are supposed to remove everything, which includes the motherboard, and then I'll take apart the lens and clean its insides and outsides. Or I think I am going to do that.
-
-
-
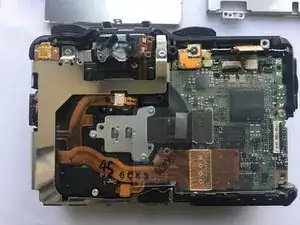
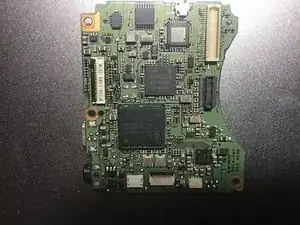
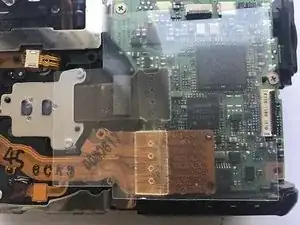
We had this ELPIDA DDR3 RAM HB0010A17EE for ... shots buffers?
-
Which is overlaid on ... a processor?
-
We had the Sony D4807GA823DG4V
-
15019GB 7MR4G 07G
-
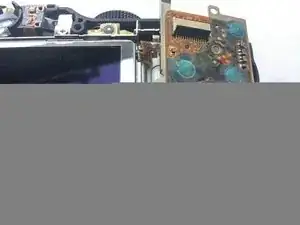
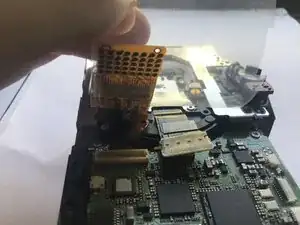
We had a unnamed IC and another ... IC on the front. But hey ... this one on the back is REALLY eye-catching. A exposed-die processor!
-
Could this be the GPU?
-
-
-
And to remove the motherboard, we will need to remove the top assembly (which appears to be a single large piece) which requires removal of the front ...
-
Cover? Panel? Plate?
-
Start by prying near the TOP of the front plate. There is a plastic tab holding it.
-
Hello .... how are you doing there?
-
-
-
And then we'll go remove the upper assembly ...
-
You have this screw at the back ...
-
You had this screw on the front ... took me a while to figure it out.
-
And you had this screw on the right.
-
THAT one. The top one.
-
-
-
And ...
-
BOOBY TRAP!
-
Sadly, this is largely how it would be done. That tiny connector is for the microphone on top of the machine, near the function wheel.
-
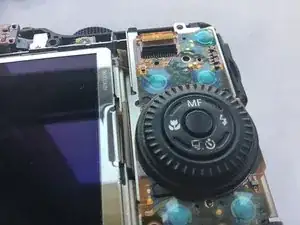
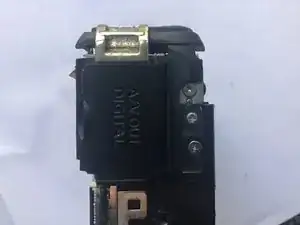
Look at that assembly! It's absolutely monstrous -- the numerous dials, the power button, the playback button, the hot shoe ...
-
Some of which looks unnecessarily delicate, but hey, these are dials. Non-digital dials that use physical contact on every single click. And the copy-paste button (that's how I call it) had its own light.
-
-
-
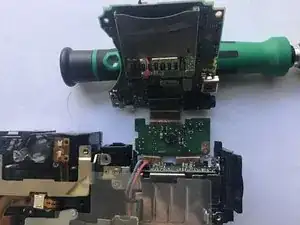
So, what do we have next?
-
Clearly you can't take out the power boards without the motherboard first.
-
So let's go do that. But heeeeyyyy....
-
What is Sony doing here?
-
Anyway. Let's remove this screw ....
-
And that screw(Far right).
-
-
-
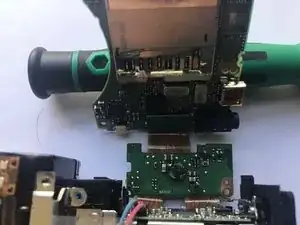
And this screw on this weird ... "interconnect" board that houses a ...
-
RTC battery?
-
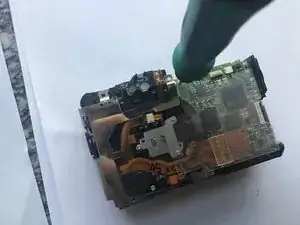
And flip the entire thing out ...
-
-
-
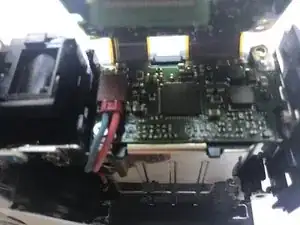
So how exactly on earth should I do to remove these stuff without snagging a single copper line on these flex cables?
-
Answer: inter-board connectors.
-
BOOM! You're out.
-
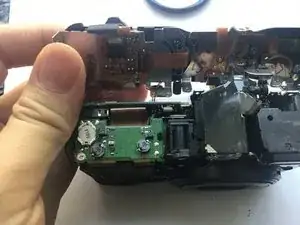
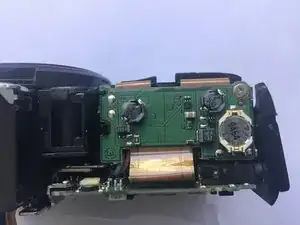
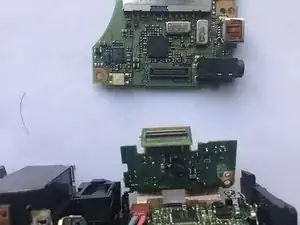
Which leave us with this power board ...
-
Apparently the power is directed to the entire "system" part through this single connector, so the board is free to move after the screw is removed ...
-


To reassemble your device, follow these instructions in reverse order. CAREFULLY. After cleaning the dust. Or, continue to part II of the disassembly.

Один комментарий
Can someone do a more detailed guide or add more steps in this?
Sue -