Введение

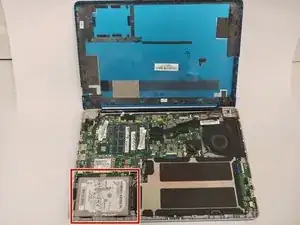
This hard drive replacement guide will show you how to properly remove the hard drive from your Lenovo IdeaPad. The only tool mandatory for this guide will be a #1 Phillips head screw driver and a metal spudger.

  1. SjrCeNYo5YHpWadA
    SjrCeNYo5YHpWadA
    4iUW2lLaK1yVQ3nI
    • Using the metal spudger, remove all the rubber squares on the bottom of the laptop.

  2. geeNC5KDNZCXDP3g
    geeNC5KDNZCXDP3g
    NuuLSVPTpM5Lu2XX
    AFFoAWixoCrDKKjh
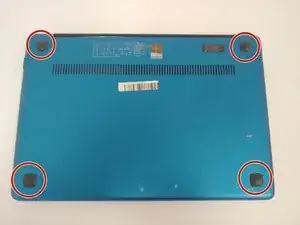
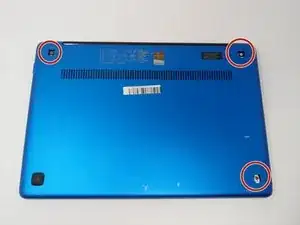
    • Remove the three 6 mm Phillips #1 screws holding the panel on the laptop.

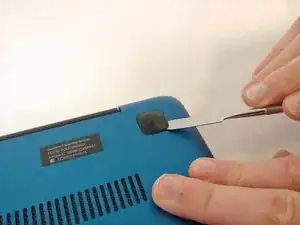
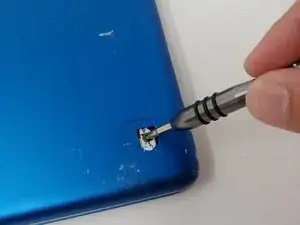
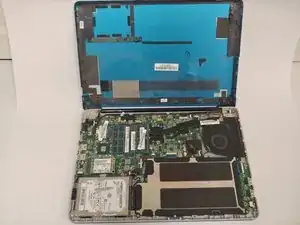
    • Pry the panel from the laptop using your hands or the metal spudger if necessary.

  3. HbW2DtoXxJMhMfhc
    • Locate the hard drive in the bottom left corner.

  4. lZDN353HuPUV1LJx
    lZDN353HuPUV1LJx
    Q62xmyFPKSd31G1V
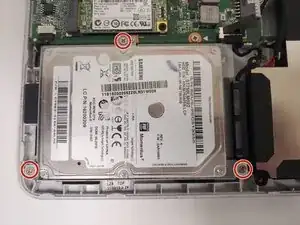
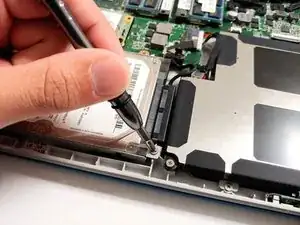
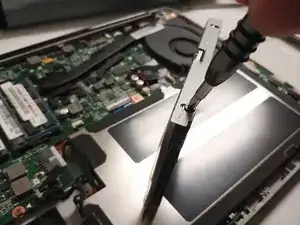
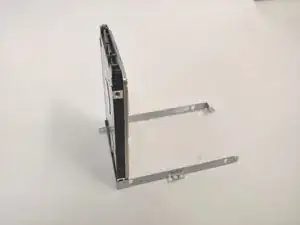
    • Use the Phillips #1 screwdriver to remove the three 3mm screws located on the rim of the hard drive.

  5. XJE1RDfXes1yLoJR
    XJE1RDfXes1yLoJR
    imSm3NfcOPLpdH6u
    U4KnTIRVLmJwI1se
    • Use your fingers to detach the black connector from the hard drive.

    What is the name of the black connector cable

    Issifu Alhaji Iddrisu -

  6. fm1WntHOX35yKxlW
    fm1WntHOX35yKxlW
    1kgfNCIVuqIeaGL1
    • Unscrew the four screws on either side of the hard drive with the Phillips #1 screwdriver.

  7. pILnLEdtBrNeiXEO
    • Use your fingers and gently lift the hard drive from the case it was screwed into.

Заключение

To reassemble your device, follow these instructions in reverse order.

Jeff Nyheim

Участник c: 18/09/18

169 Репутация

0 комментариев